6x9 rear speakers
It's been a very long time since I've done anything to my ST205. Well now that it's not so cold no more I thought I'd do something about the crappy speakers in the gen6 to match the DVD head unit I have.
Some of you may remember I made a custom 2x12 subwoofer box in the boot of my ST202 in the past. Well in the GT4 the strut bar gets in the way and also the boot space is a lot smaller. I also no longer want that massive defening sound too so changing the stock speakers to improved quality ones will be enough for me and the car doesn't have to gain the extra calories to weigh it down too. Well as most of you gen6 owners know the rear L/R speaker look like they have 6x9's in them becasue of the slite oval shapeed grill on the panels where as in face they have a really crappy 6.5 inch stock speaker inside which are no good at all.
The problem is unless you use another 6.5" speaker to replace the origionals, you'll need to find a way of mounting your chosen/larger speakers becasue the origional mount can't be cut back.
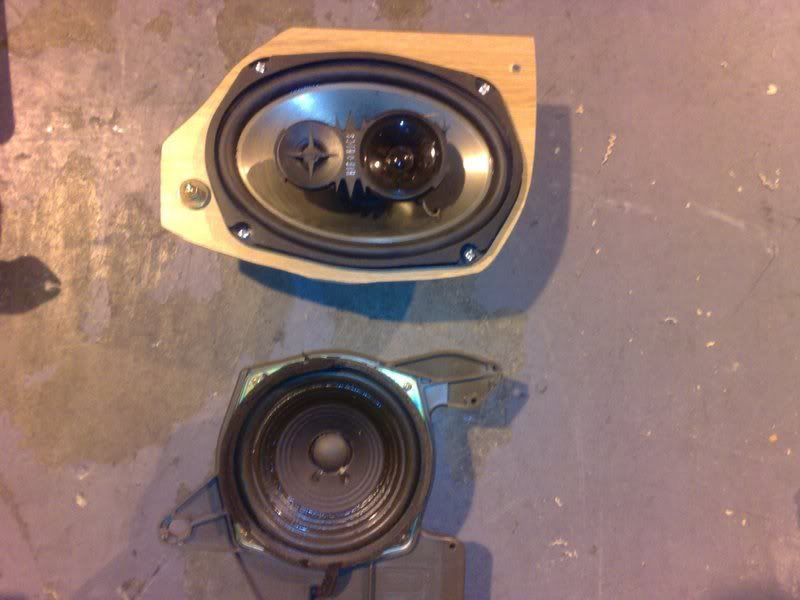
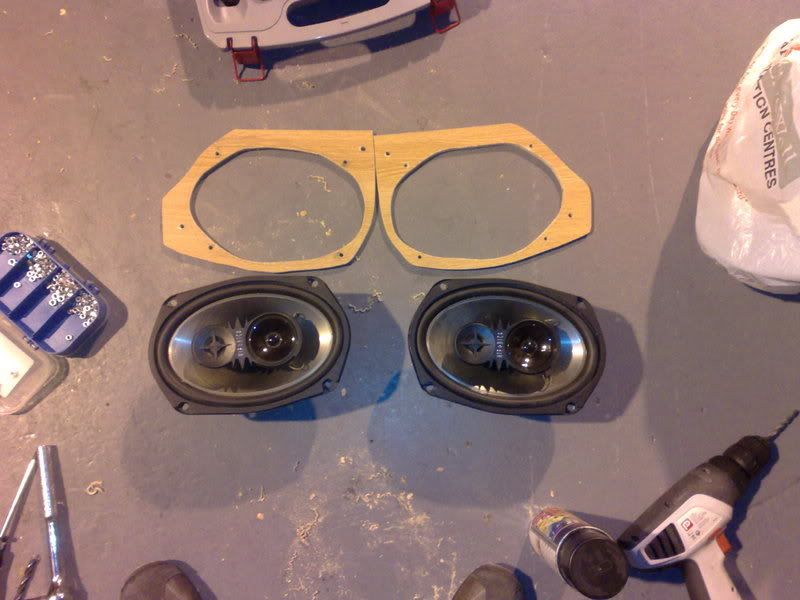
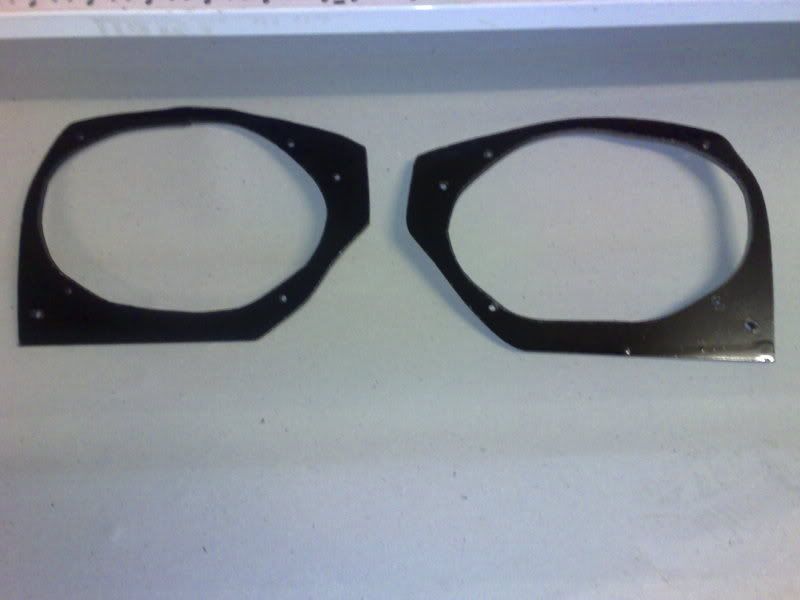
I've chosen to put in a set of 4ohms 200w 3 way 6x9's which I've had for a while and not put in yet. [IMG]http://i168.photobucket.com/albums/u165/stocky_2007/interior/1-1.jpg[/IMG] First look at the origional speaker. It's mounted to a plastic y mount which is bolted in 3 points. I've cut a piece of 5mm MDF with 2 points to mount the 6x9's by copying the holes from the origional. [IMG]http://i168.photobucket.com/albums/u165/stocky_2007/interior/2-1.jpg[/IMG] Next try mounting the speakers to the car. Cut away any unwanted edges and line up the holes perfectly. I've used the origional screws to mount the MDF. But remember the top right screw as I need to bring a point to that later on [IMG]http://i168.photobucket.com/albums/u165/stocky_2007/interior/3.jpg[/IMG] Next make a flipped copy [IMG]http://i168.photobucket.com/albums/u165/stocky_2007/interior/4.jpg[/IMG] Spray them black [IMG]http://i168.photobucket.com/albums/u165/stocky_2007/interior/5.jpg[/IMG]
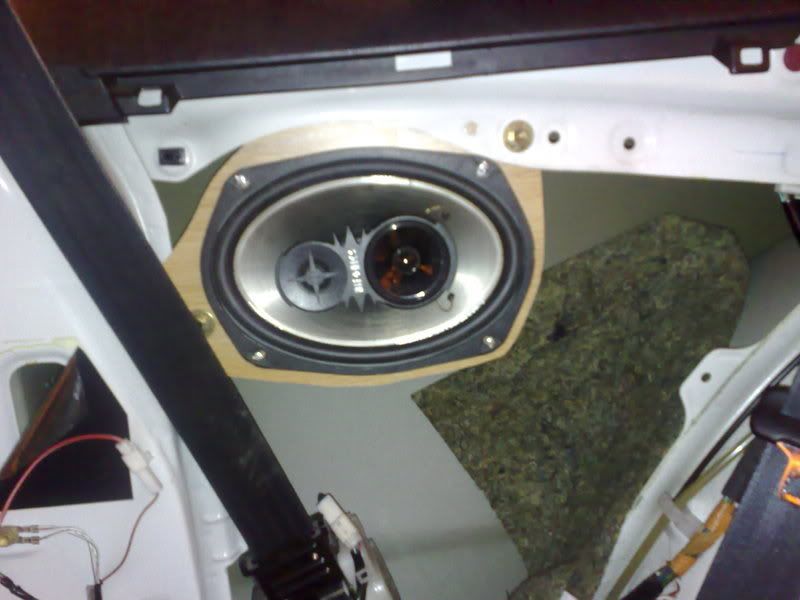
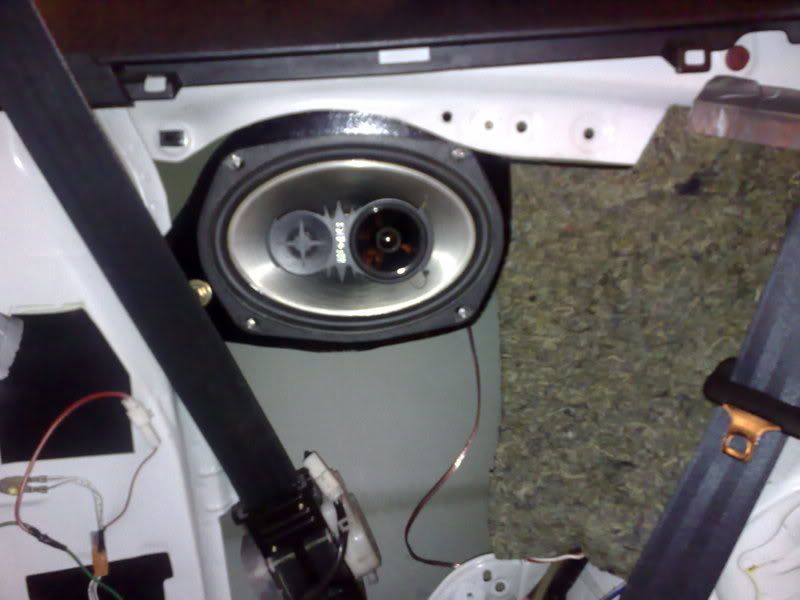
Wire it up and mount it on. Now remember that top right screw? Well that's screwed on from the inside out towards you. The reason for this is becasue I needed the screw to go through the MDF and then to bite onto the threads of the car body. If I had screwed from front facing in it would have went through the threaded body of the car then to the MDF behind it. MDF will eventually break/fray and wear off over time and vibrations so it will eventually fall off the screw if I didn't do this. [IMG]http://i168.photobucket.com/albums/u165/stocky_2007/allsorts/6.jpg[/IMG]
Last of all cut away the excess plasic and sand it down so you dont cover the speakers and making sure the sub dont hit this plastic when it moves in and out when you turn it up.
End results looks exactly the same as before but just sounds 100 times better!
written by yellowchinaman